

Ultimate Guide to Installing Wooden Slat Panels: Expert Tips for a Professional Finish
Transform your space with the sophisticated touch of wooden slat accent panels. Follow our recommended steps for a seamless installation experience, ensuring your walls make a statement of style and craftsmanship.
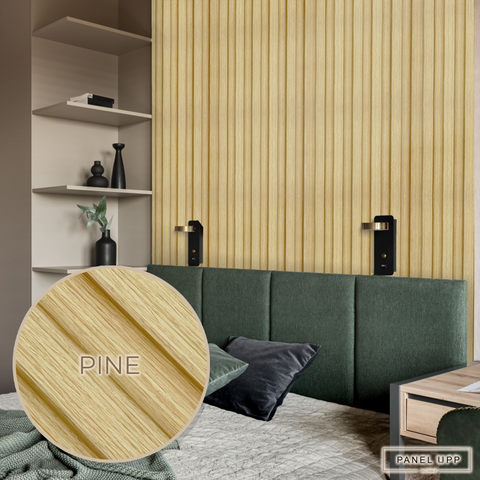
Panel Upp OTTO in the Pine colorway
Panel Specifications:
- Size: Each panel measures 4.8" x 96", providing coverage of 4 square feet.

Before Installation:
- Surface Preparation: Clean your wall thoroughly, removing any screws, nails, or fixtures.
Panel Customization:
-
Cutting to Size:
- Mark your cut line with a pencil and straightedge for accuracy.
- Use a fine-tooth wood saw or hand-held power tools for cutting the panel.
- For the felt, employ a sharp utility knife for a clean cut (this is regarding a panel with acoustic qualities)
Adhesive Application:
-
Using Adhesive:
- Apply adhesive with a cartridge gun, covering approximately 3 panels per tube.
- Distribute in a wavy coherent pattern for optimal adhesion.
- Immediately position the panel against the wall, pressing firmly to set.

Each step is designed to guide you toward a smooth purchasing and installation experience, ensuring your panel is perfectly prepared, customized, and secured for a superior finish.